Vim essentials
I’ve always been curious about how cool programmers use vim so efficient. Many screencasts and videos from conferences show that some programmers prefer vim over real IDEs. I decided to master vim, there should be something charming - so many people can’t be wrong. Here are 21 Reasons to Learn Vim. So, let’s get it started.
##Vim in 5 sec
The only thing you shouldi know is: hit Esc and :q!
I've been using Vim for about 2 years now, mostly because I can't figure out how to exit it.
— I Am Devloper (@iamdevloper) February 17, 2014More info about it.
##How to start
I started to poke around and realized that there is no one source which can describe how to do something like that:

Ok, we’re motivated to do something cool. Even though, vim is a crossplatform solution, this article aims to cover MacOS and iTerm2. I like this stack and use it all time. So, first of all, we need to update default vim 7.3 to 7.4. We could use brew install vim but for macos, there is a better way - using macvim. Macvim is the latest vim compiled with proper flags. It adds a few benefits like system clipboard support.
$ brew install macvim
$ alias vim='/usr/local/Cellar/macvim/7.4-74/bin/mvim -v'
So, all special vim features are controlled by a plugin system. The first step for plugin installation is to pick a plugin manager. Vim has a bunch of plugin managers, but as I understand there is the most popular one - Vundle.
The installation procces is pretty easy:
$ git clone https://github.com/VundleVim/Vundle.vim.git ~/.vim/bundle/Vundle.vimThen, you need to create a file ~/.vimrc with the following content:
set nocompatible              " be iMproved, required
filetype off                  " required

set rtp+=~/.vim/bundle/Vundle.vim
call vundle#begin()
Plugin 'VundleVim/Vundle.vim'

"Plugins go here

call vundle#end()            " required
filetype plugin indent on
This is basic vim configuration. Now we are able to modify it to customize vim view and behaviour to meet our needs. There is a bunch of cool features which you have to turn on in the beginning. You just need to add following lines to your ~/.vimrc file.
set mouse=aallows you to work with vim using your mouse;set numbershows line numbers;set relativenumberanother cool setting which can show line numbers relative to the line you are currently on; This setting can be combined withset number. In this case, current line will have absolute value, but all others relative.set clipboard=unnamedhelps to work with MacOS clipboard usingy;- A few options to manage indentation:
set tabstop=4
set expandtab       "Use softtabstop spaces instead of tab characters for indentation
set shiftwidth=4    "Indent by 4 spaces when using >>, <<, == etc.
set softtabstop=4   "Indent by 4 spaces when pressing <TAB>

set autoindent      "Keep indentation from previous line
set smartindent     "Automatically inserts indentation in some cases
set cindent         "Like smartindent, but stricter and more customisable
Plugins Installation
Now we can add some plugins to extend standard view and functionality. I found an awesome site with a catalog of all available plugins http://vimawesome.com/. The plugin installation is really simple. You need to copy the string which looks like Plugin '***/***' and paste it to ~/.vimrc bellow the line with text "Plugins go here. After that, you may install all plugins: open vim, and type :PluginInstall.

Let’s start with essentials.
NERDTree
The NERD tree allows you to explore your filesystem and to open files and directories. It presents the filesystem to you in the form of a tree which you manipulate with the keyboard and/or mouse. It also allows you to perform simple filesystem operations.
Plugin 'scrooloose/nerdtree'This is an essential plugin which helps to work with project tree.

A few tips and trick:
- To make it more conviniet, you can add
map <F5> :NERDTreeToggle<CR>to your~/.vimrc. It allows you to show NERDTree by hitting F5; - Hit
rto refresh file tree.
ctrlp.vim
Full path fuzzy file, buffer, mru, tag, … finder for Vim.
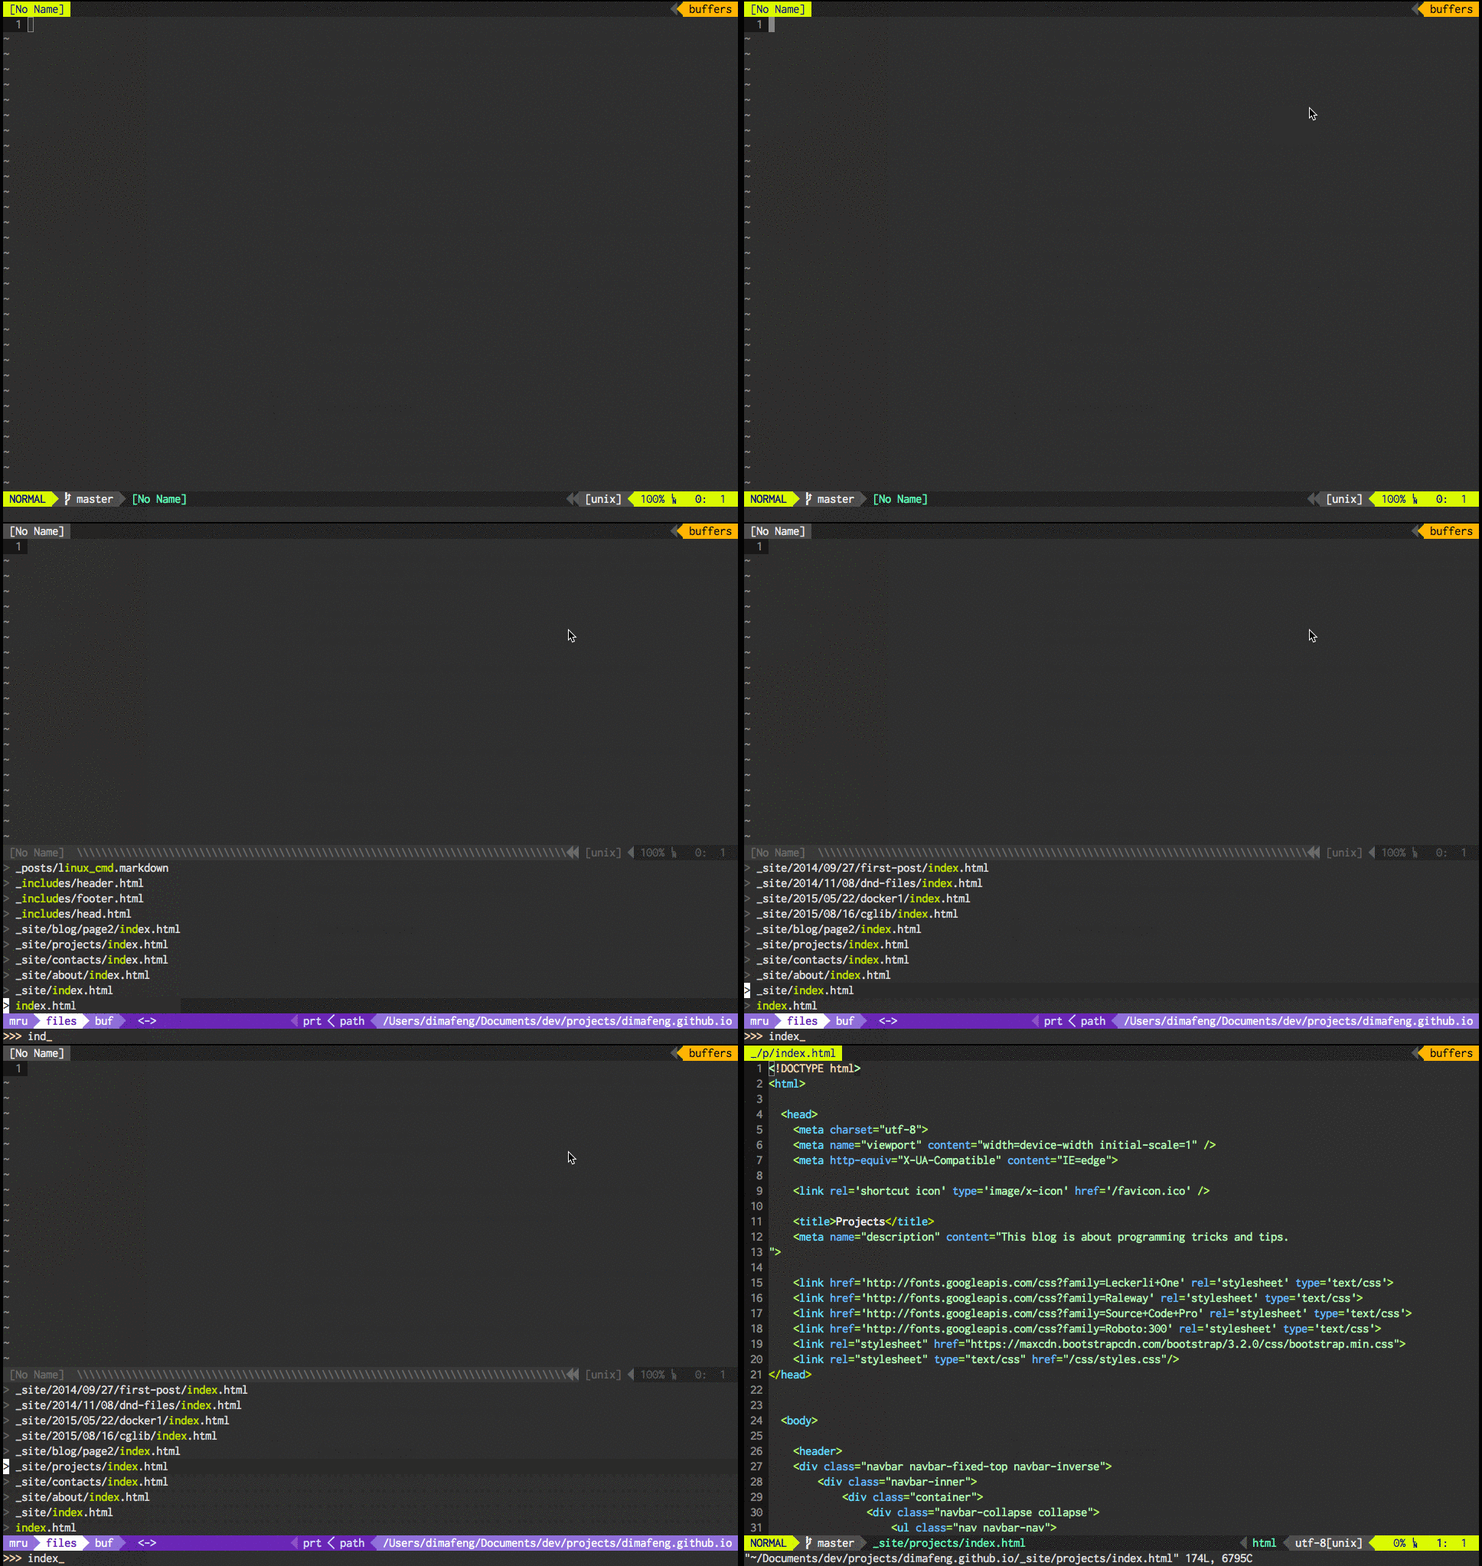
Plugin 'kien/ctrlp.vim'Ctrl+p shows panel like that:

Fugitive
This plugin helps you to manage git from vim.
Plugin 'tpope/vim-fugitive'Airline
Airline is a customizable status bar and tabline.

The installation process is pretty tricky. First of all, you need to add the plugin:
Plugin 'bling/vim-airline'Then, add the following configuration lines:
set guifont=Inconsolata\ for\ Powerline:h15
let g:Powerline_symbols = 'fancy'
let g:airline_theme='dark'
let g:airline#extensions#tabline#enabled = 1
let g:airline#extensions#tabline#left_sep = ' '
let g:airline#extensions#tabline#left_alt_sep = '|'
let g:airline_powerline_fonts = 1
We just did basic configuration of airline. It’s almost done, but you’ll have font issues. To solve them, you need to checkout powerline/fonts and run ./install.sh. The next step is iTerm2 configuration - go to Preferences -> Profiles -> Text and set Regular Font and Non-ASCII Font to Inconsolata-g for Powerline.

Easymotion
EasyMotion provides a much simpler way to use some motions in vim. It takes the
out of w or f{char} by highlighting all possible choices and allowing you to press one key to jump directly to the target.
Plugin 'easymotion/vim-easymotion'
Theme
By default, vim inherits system colors and it doesn’t look too awesome. To change it, there are hundreds of themes. I used vimcolors.com to pick a theme.
The installation process is simple. Pick a theme and go to its github page. Copy the author name and project name and paste to ~/.vimrc
Plugin 'demorose/up.vim'Then, you need to add this line to apply theme:
colorscheme [theme_name]Summary
In this article, I described all steps which I went through to make a vim view look more than a simple text editor. I mentioned only a few plugins out of hundreds, but it’s extremely easy to find and install new ones by yourself. The next part of this article is going to collect all essential shortcuts and commands which you should know to be productive in vim.